Introduction
It's been almost a year since I closed down my loft work space along with my Acorn computer setup and it looks like it'll be a further six to nine months before I'll be able to re-build it in its new space.
Work has only just started with just a bare outline of the new space showing. Walls still need to be knocked down and built up, windows, power etc. need to be installed but at least I can see a glimmer of what it might look like when finished.
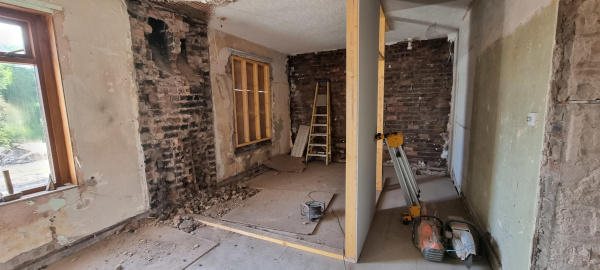
A double chimney has been removed, an old window filled in and a part wall partition built. The far wall has to knocked down but I can at last see a beginning of what it'll look like.
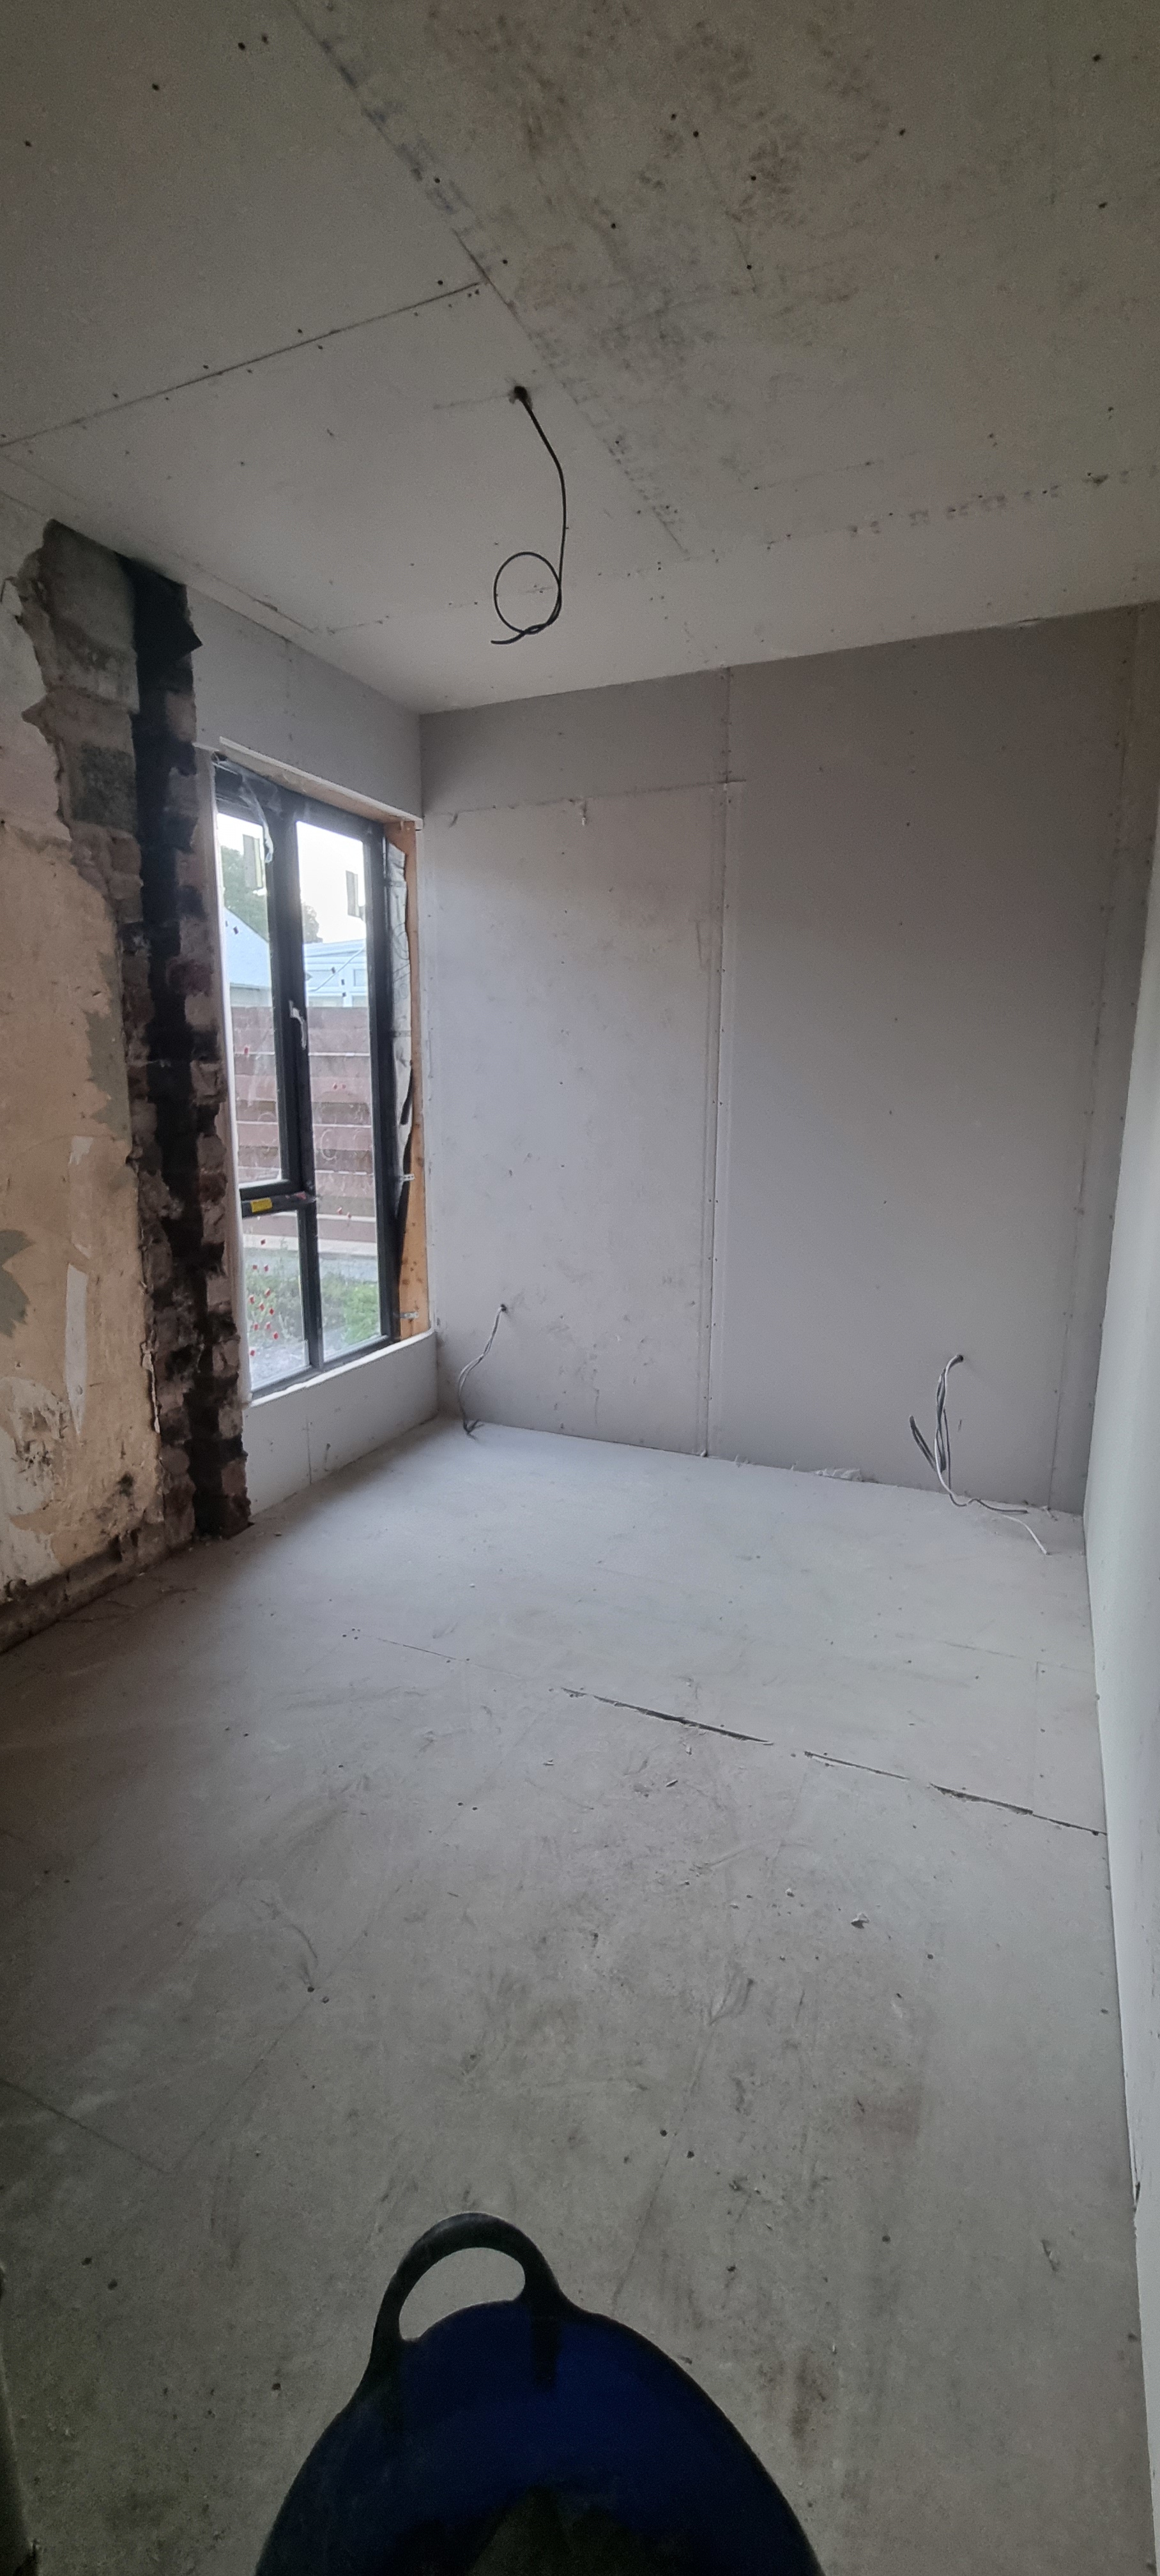
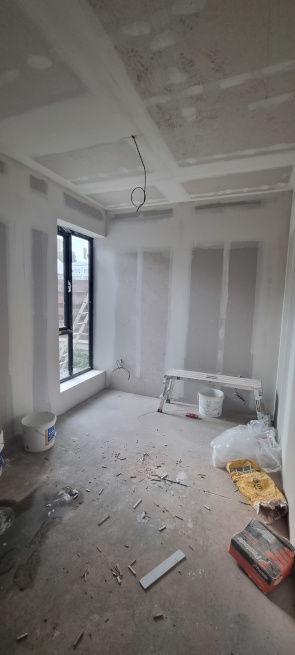
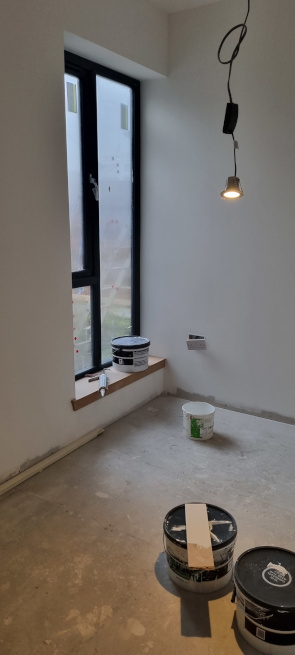
Getting closer to the finishing line.
Moving in
At last, 18 months since I packed up my computers I am able to start setting them up again. First things first though. I built up my old desk to get at least my printer and NAS drives switched on. Next was to build a bench big enough to set out at least two Acorn machines, two PC's and my Raspberry Pi 400. I used some old (but in good condition) table legs along with a spare 22mm decor end panel left over from my old kitchen making a nice 2.4m an 600mm bench.
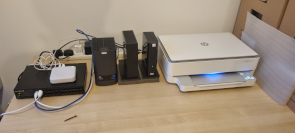
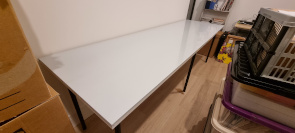
I soon discovered I can't fit a quarter of my kit into the new space so I am going to rationalise and reduce...
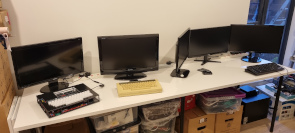
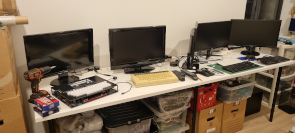
To reduce the need for the three keyboards and mice and hence desk space I'm going to use the Raspberry Pi 400 keyboard and mouse and a program called Barrier to control the two Pc's. It's bit like a software version of a KVM.
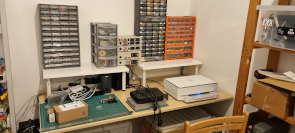
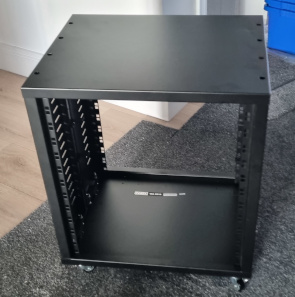
I built a couple of risers for my desk (again left over kitchen unit end panels) to place some component drawers and test gear on which will maximise desk space. To clear the desk I have ordered a 12U 19" rack with two shelves to house my network switch and NAS drives.
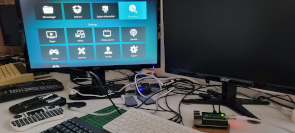
While waiting on the 19" rack to arrive I looked out my NAS drives that hold my media files hoping they were still in working order. Two worked and one struggled to fully initialise but after about ten re-!boots it started up. I'll need to think about replacing it. I also rebuilt my media player using a Raspberry Pi4, TV HAT and LibreElec 11.0.3.
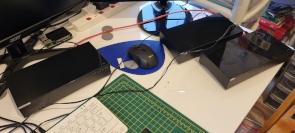
The 19" rack arrived from Bax Music, assembly was straight forward with no issues. It took a bit of time to move the NAS drives in and I soon found I didn't take into account any cable management so I'll look into that.
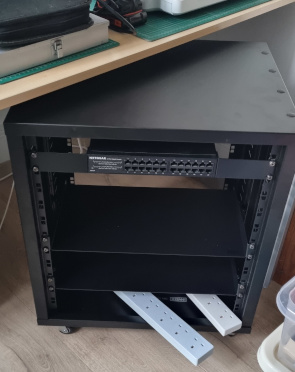
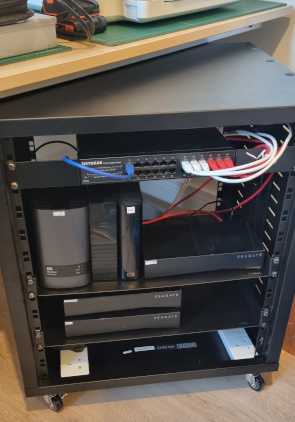
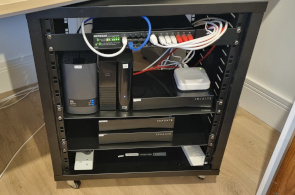
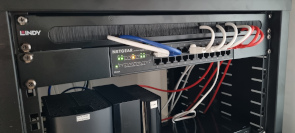
My nod to cable management, a brush panel - it does look a lot better.
Acorn setup
Starting to look out my acorn collection to see what will fit on the bench. With two Electrons out I realised I'd need another bench if I wanted to get my BBC B+ and Master out so I built one to fit the little space I had left.
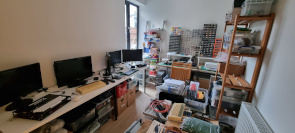
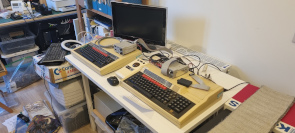
I managed to squeeze a third Electron on the bench and stated the power up process hoping there are not too may casualties. I started with my clone only because it has an HDMI output as my RGB monitor turned out to be my first casualty, it went pop! on switch-on. I will eventually get round to repairing it but in the meantime I'll use RGBtoHDMI converters and my RGB switch so I can share a monitor between computers.
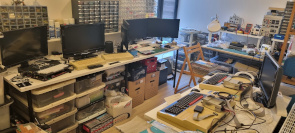
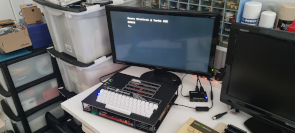
Too many Electrons..and I found another one that's not in the picture below! For the BBC and Master I don't have a fully built RGBtoHDMI but I have looked out all the parts (luckily I have a spare RPi Zero) so it'll be my first build in the new workshop.
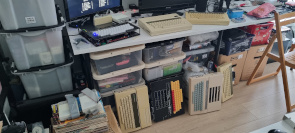
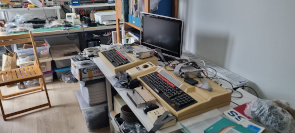
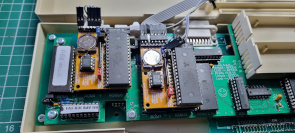
That's the second Electron successfully powered up. Only the batteries needing replaced on the Battery Backed RAM modules on the Plus 6 in the Plus 1. I'm not sure which Electron to choose for the third one, one with a Minus One, another one with a Plus 1 or my first clone...
On saying that one Electron/Minus 1 doesn't power up..failure tally so far - one monitor, one Electron and some batteries.
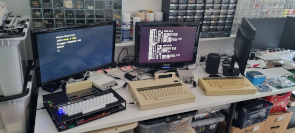
I built the RGBtoHDMI adapter for the BBC/Master setup and ordered the case via Ali Express so I should be able to complete it by the end of the month however it will let me get on and set up both machines.
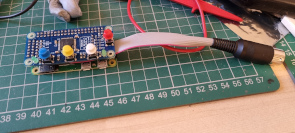
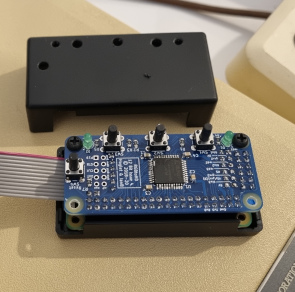
Now mounted in a case - I used the drill template from GITHUB to make it easy to align the switch and LED holes, I also made a small cutout for the ribbon cable on the side and labelled buttons.
Setting up the BBC and Master
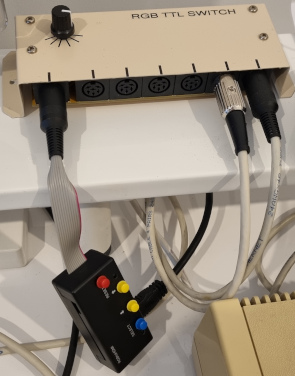
Before I started I built a riser shelf for the monitor (Old TV) and somewhere for the power extension to hide under. I then connected the BBC & Master to the RGBtoHDMI, RGB switch and monitor.
Switching on the Master first and I was met with silence and no image on the screen. The power LED, CAPS and Shift Lock all worked as expected. My first thought was dud batteries and lost configuration but no screen output made me think there was something else wrong. I turned my attention to the BBC micro which gave the two tone sound but no image on the screen. So a common issue was the lack of image but this time I was given a clue on the screen - unsuported resolution. After setting the RGBtoHDMI to a suitable resolution the BBC micro banner didn't show the DFS so I switched off, wiggled the ROM expansion board and switched back on..all good this time.
Back to the Master and this time all I had to do was re-configure the CMOS and of course change the batteries. That's the master with Arcadians running.
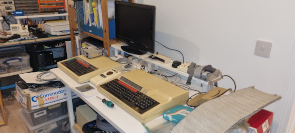
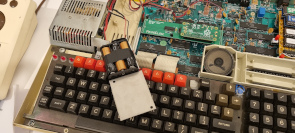
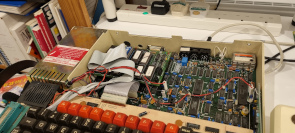
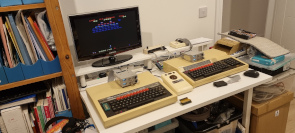
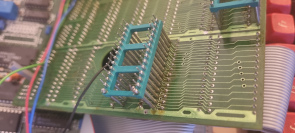
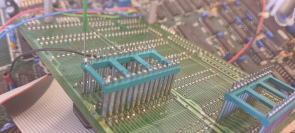
The BBC micro expansion board wiggle didn't work for long so I removed the expansion board and it reminded me that the board had been 'fixed' before. When bought the board had two bent pins on one of the extension sockets which fell off when trying to straightening them. Instead of sending the board back we soldered on bits of wire to the socket. It seems the 'fix' only lasted 37ish years. Anyway I re-soldered a wire onto the broken pin, replaced the board and it's now working okay..good for another 37 years!
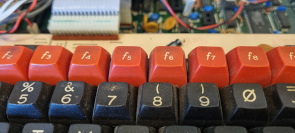
I noticed the keyboard needed a clean..
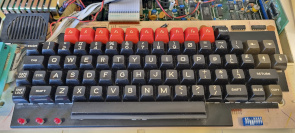
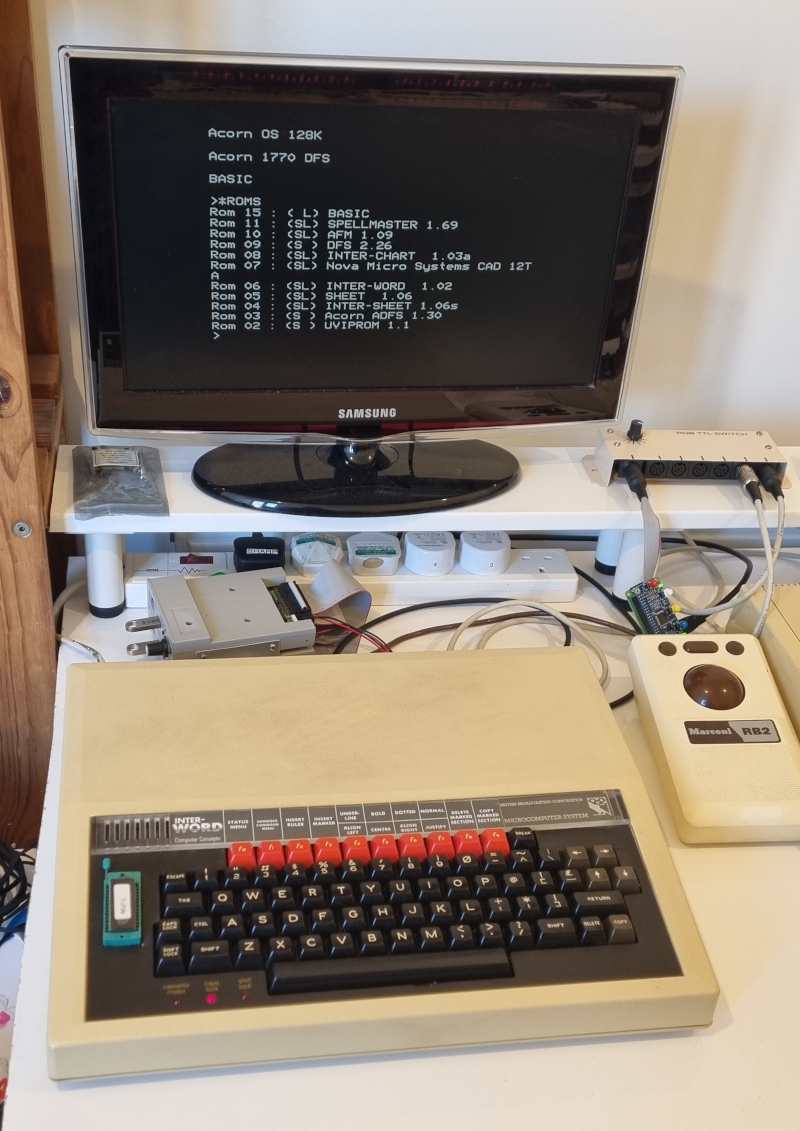
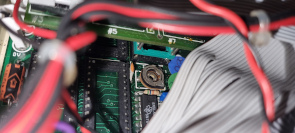
I also replaced the ADFS ROM with SpellMaster, cleaned the ZIF socket and re-seated the ribbon header in it socket and plugged in the PiTube 2nd processor. I'll use the ADFS ROM in the ZIF socket if needed.
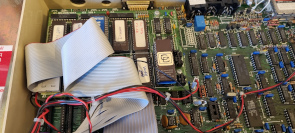
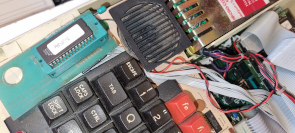
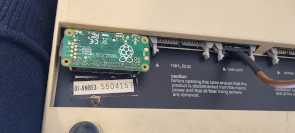
Looking good now.
