Assembling the Slogger Pegasus 400 Disc Interface for the Acorn Electron
Another in the series of building add-ons for the Acorn Electron, this time it's the Slogger Pegasus Disc Interface. I discussed on my page My Acorn Revival from 2019 how I bought an original Slogger Pegasus PCB and had to thoroughly check the board before assembly which led me onto making my own boards. Since then a new version has been released by Retro Hardware which has made some improvements and changes to the original. I had only made a few minor alterations on my version, moving a couple of IC's to improve access to a mounting hole and to make the SRAM socket compatible with both 8K and 32K chips.The changes on V1.1 are:
Repositioning the IC's again to give even better access to the mounting hole.
Added more decoupling capacitors.
Repositioned the links, I had inadvertantly moved them closer to the disc controller IC.
Changed the 7416 buffer IC for a ULN2003A - Cheaper and easier to obtain.
Further changes may appear in the future to simplify and reduce the IC count.
Below is a series of photos I took when assembling the 1V1 PCB. I started with looking out the components needed and started to solder the resistors and sockets only to find I was three sockets short. I continued with the assembly while waiting for the sockets to arrive by soldering in the SIL resistor, the decoupling capacitors, the links, disc drive header and plugged in what IC's I could. When the sockets arrived it allowed the completion of the board. I then mounted the PCB in its case completing the build.
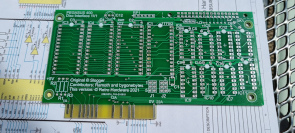
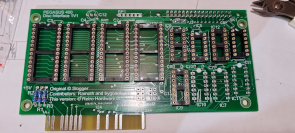
The bare board and mounting the first components.
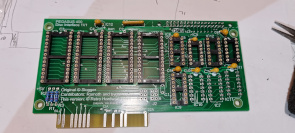
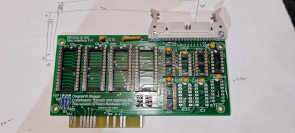
Continuing with the SIL resistor, capacitors, links and drive header.
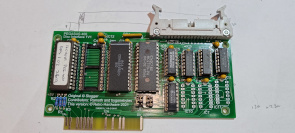
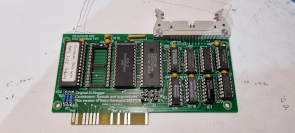
IC's plugged in and fitting the last three IC sockets.
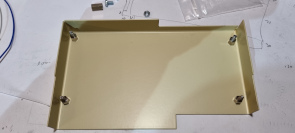
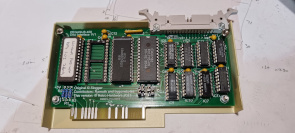
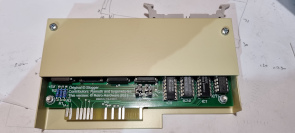
Assembling the case and mounting the board inside.