Introduction
Following on from finding a failed Electron and Monitor in my work area rebuild project I first started to look at the Electron fault symptoms. On powering on the Electron there was no usual sound and the CAPS Lock LED did not light up. Powering off again I could hear the internal cassette relay click - so there was some power getting to the board. I then removed the Minus 1 and powered on and off with the same results so the Minus 1 wasn't causing the problem. It was time to open up and take some voltage measurements.
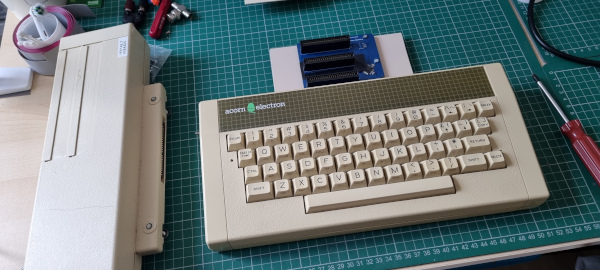
The voltages were all good at +/- 5V so I removed the OSTC (Open Source Turbo Card) and tried a good 6502A in the Electron processor socket.
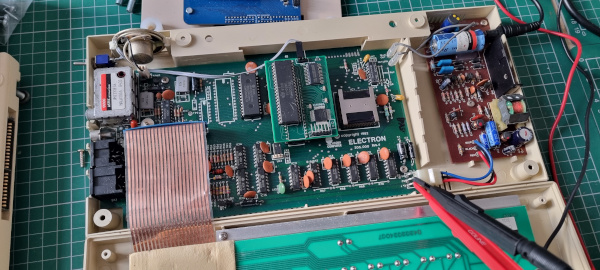
It worked!
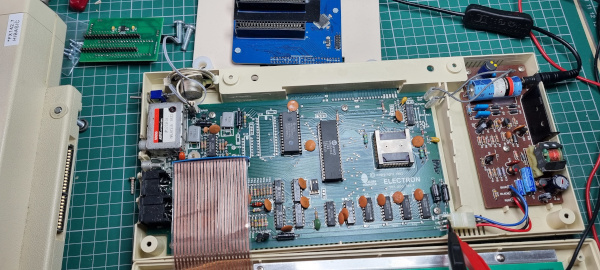
Now to remove the 6502A from the OSTC and try it directly in the Electron. Again it worked! So the OSTC card had failed.
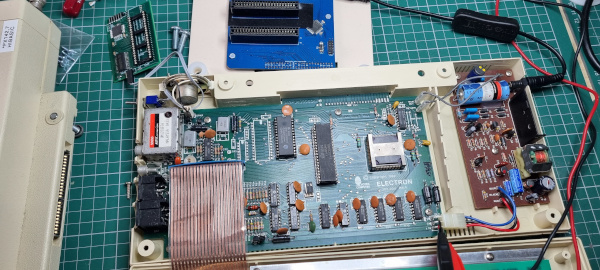
At this point I replaced the OSTC with a new card (one I had built as a spare) and that worked ok.
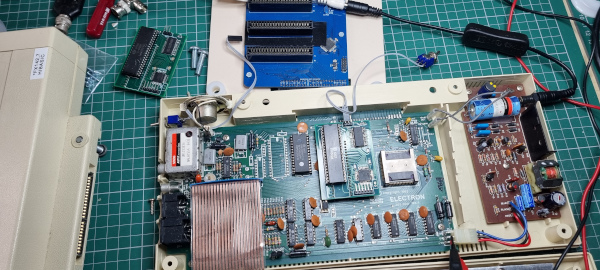
So I put it all back together but this time I had plans to use it with a Plus 1/Plus 6 combination and an LCD screen. I soak tested it for a couple of days and it's all working nicely again..
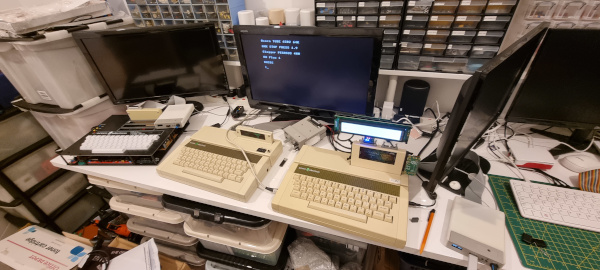
That repair turned out to be a lot simpler than it could have been taking only about half an hour to get it up and running - a win there.
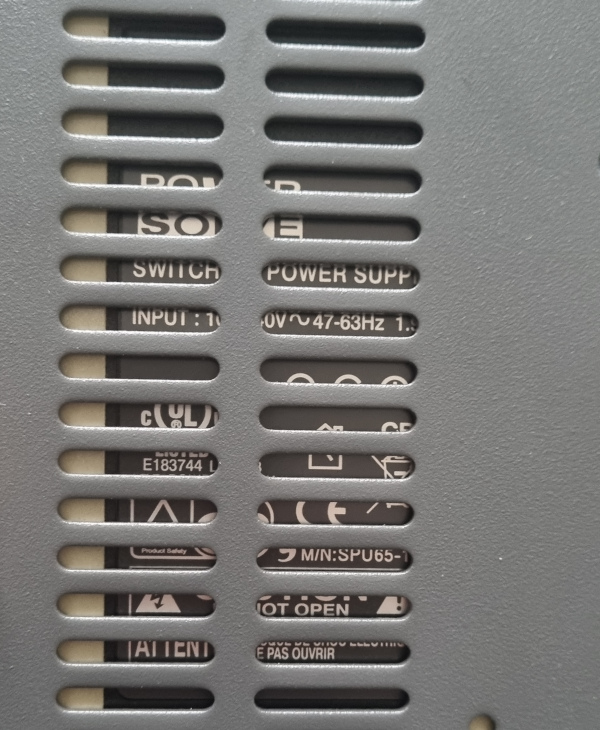
Next up was the monitor, the symptom was - plug in, switch on, nothing. I first checked the fuse, OK, then looked through the air vents underneath to see if I could see what type of PSU was used - a switched mode, OK, that may be easy to swap out. I then looked to disconnect the DC power cable coming from the base unit to the rear of the monitor and it was loose! I tightened it and tried powering it up again - it worked! Lesson learnt, always check integrity of cables.
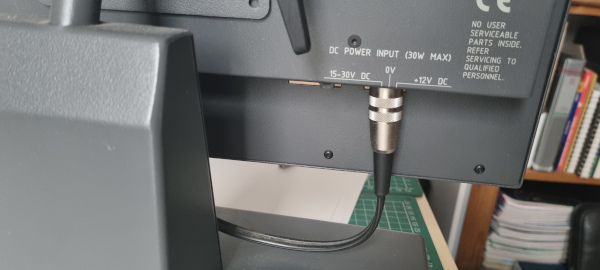
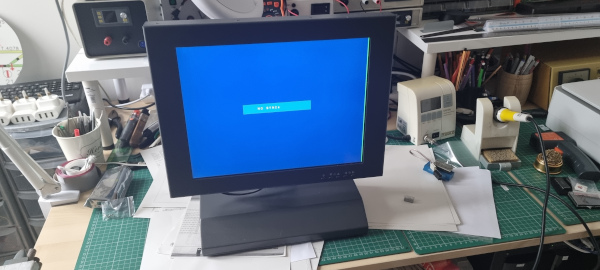
I'm pleased this 'repair' was also simple.
I still have to test the Minus 1 but I expect that to be working OK and the faulty OSTC is likely to be scrapped as it's easier to build a new one than to try desoldering the surface mount components.