Introduction
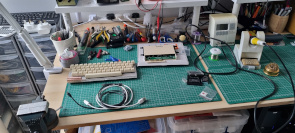
My new workspace is just about ready so i thought I'd tackle the first item on my to-do list which is to add the Electron Keyboard to my Clone. Over the last year there has been quite a lot of Electron parts available on Ebay and this is where I picked up this keyboard and a couple of power supplies. The keyboard fit will be a bit of a hack so I chose my v1.1 (blue) clone to fit it too and a case top that had a little scratch just below the space bar.
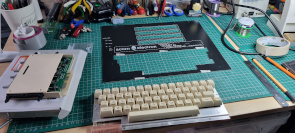
The Electron keyboard is not a direct fit for the new keyboard as there are a few keys caps that are different sizes so I marked up the additional cut-outs required and then using a nibbler cut away the excess material. I then measured the new mounting holes and drilled the case top.
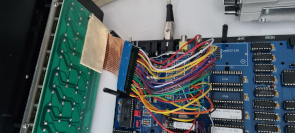
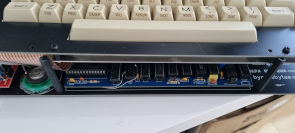
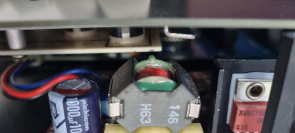
As can be seen from the photos there are a couple of pillars that get in the way at the front of the case but they can be moved/modified. Under the keyboard it just misses one of the PSU components..I was lucky there! The next issue I came across was that the ribbon cable doesn't quite reach the connector on the motherboard, to get round this I temporarily extended the cable using Dupont jumper wires.
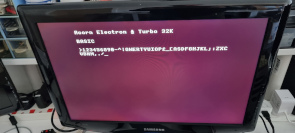
As the keyboard was an Ebay buy I was pleased to see that all the keys worked.
Move the position of the keyboard back to ensure the Electron ribbon cable reached the connector.
Alter the keyboard cut-out to suit the original keyboard.
Add new keyboard mounting holes and remove unused old.
No need to alter the pillars at the front as the keyboard will be moved slighty further back.
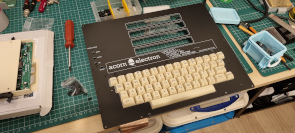
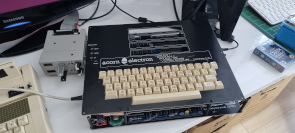
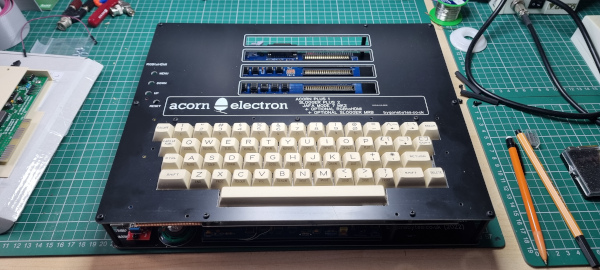
I transferred the keyboard on to my latest clone and replaced the Caps Lock LED to make it more visible.
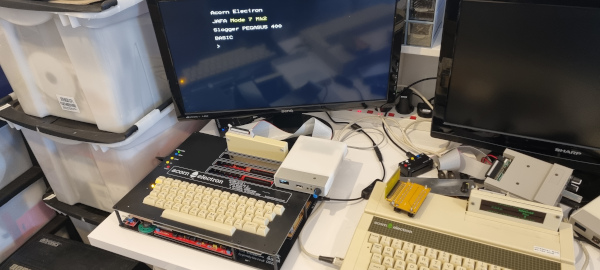
Future work on the clone will be to try and reduce the component count and the board size.