E2P Electron Second Processor
This version of the Electron Second Processor has been produced from the updated E2P Stardot forum members, jms2, and later the original designer, iwasjafa. A few months ago I produced a 4 layer PCB that brings together the current designs by JMS2/iwasjafa and added a couple of User Ports from a design by martinB. This first appeared on my Acorn Revival Pages along with some basic speed comparisons.
I have documented the assembly of some Electron addon's such as the Minus One, OSTC and a few others through photographs and commentary so I thought I'd do the same for the E2P.
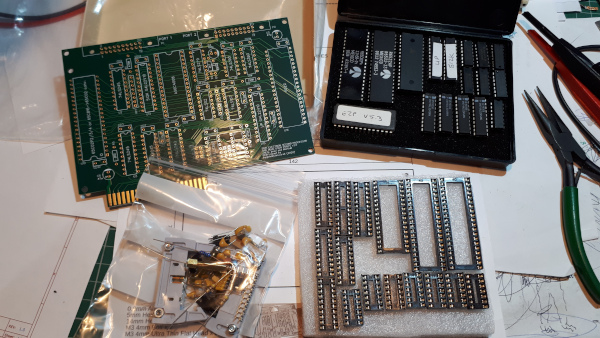
Firstly collect all the components and hardware together.
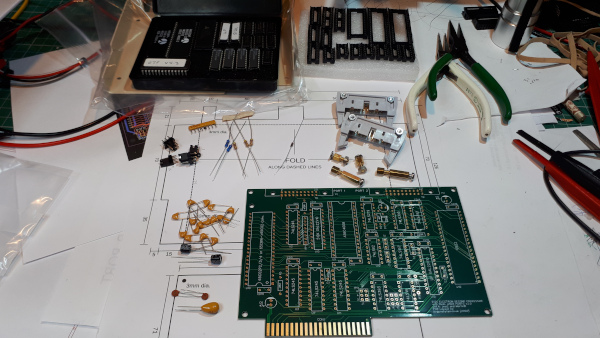
Then sort them out to make it easier to find what you need.
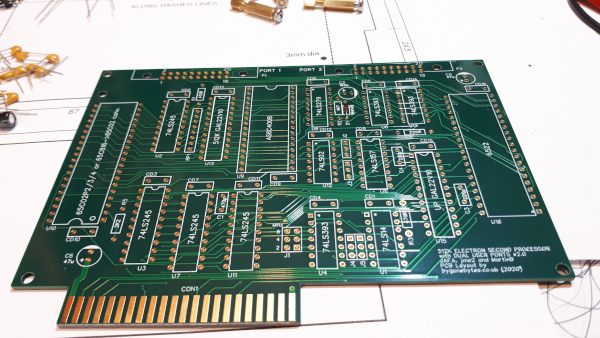
Starting with the lowest profile component, the diode, start folding the legs, insert and solder.
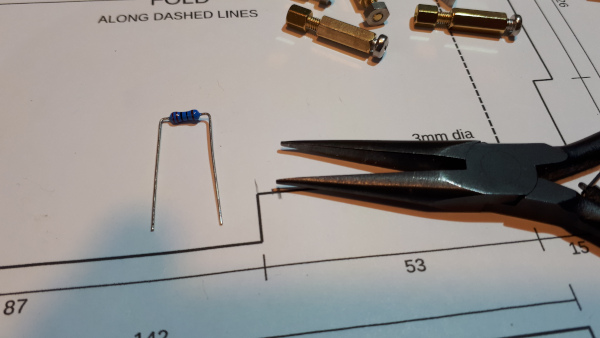
Use a pair of small long nose pliers to carfully fold the legs to the correct length.
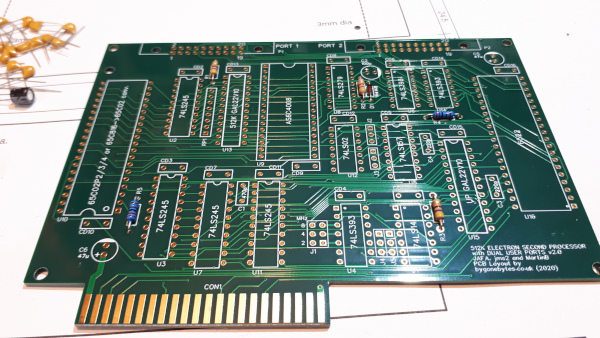
Now the same for the resistors.
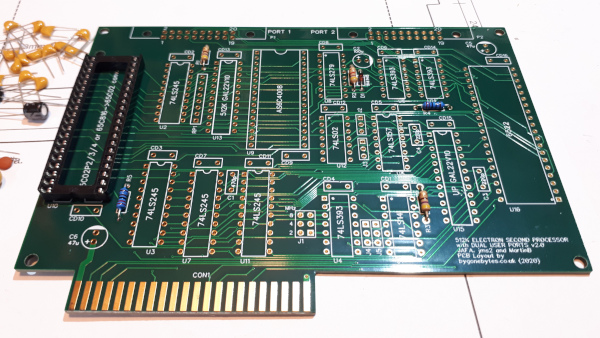
Start soldering in the IC sockets taking care of the orientation, the two forty pin sockets have pin one at the bottom of the board and the rest pin one is towards the top.
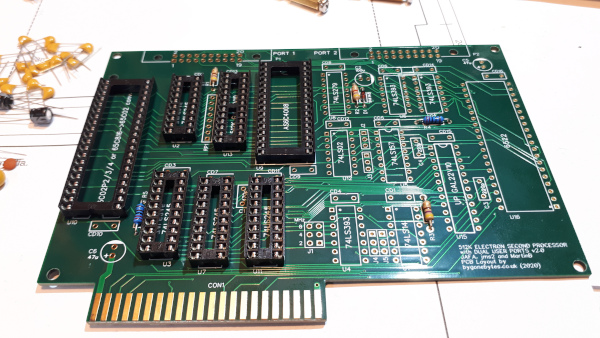
More Sockets being added.
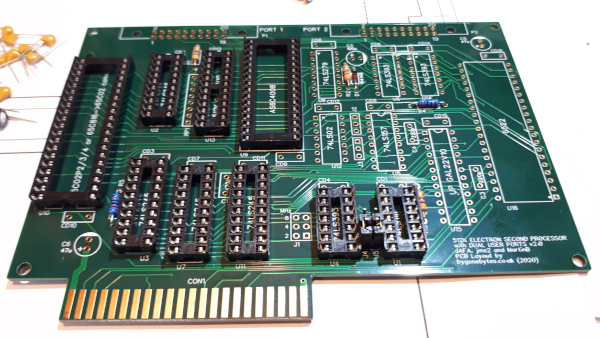
Fitting these two sockets requires the link headers being temporary in place to ensure the sockets are soldered far enough apart for the links to be fully inserted - the sockets are a millimetre too close.
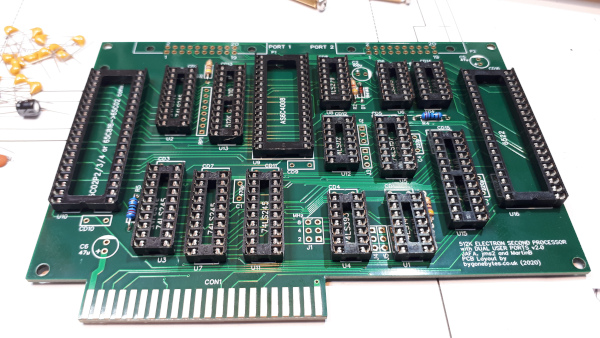
All the sockets are now in place.
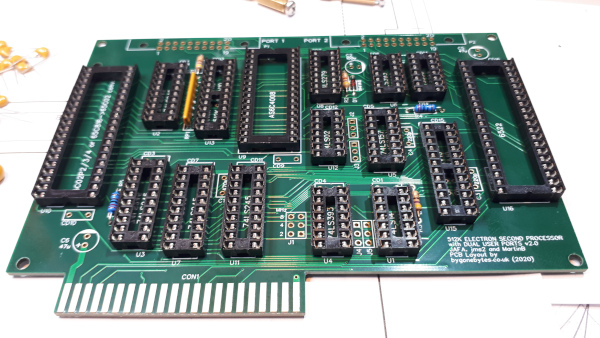
Adding the SIL resistor.
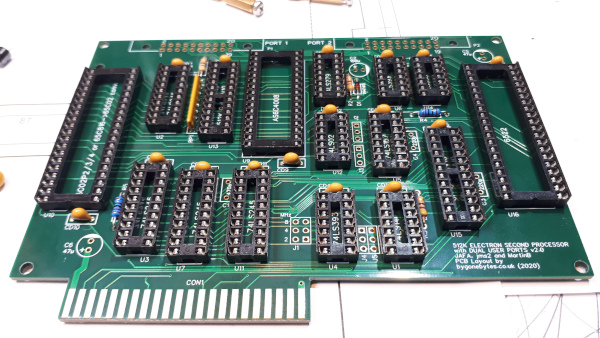
Then the decoupling capacitors.
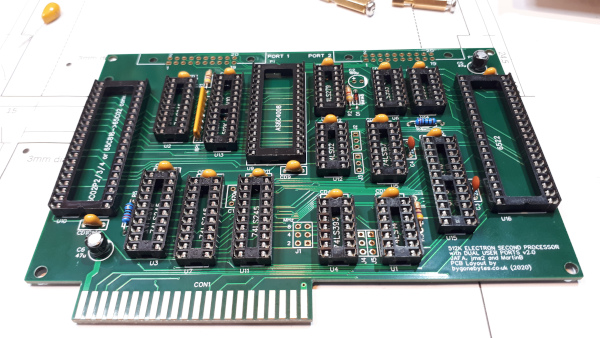
And the last capacitors, the electrolytic and the ceramic capacitors.
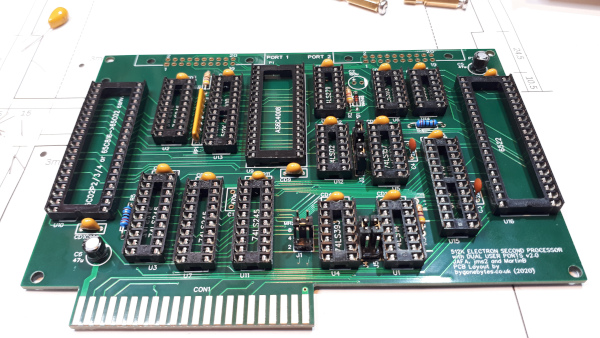
Next are the link headers.
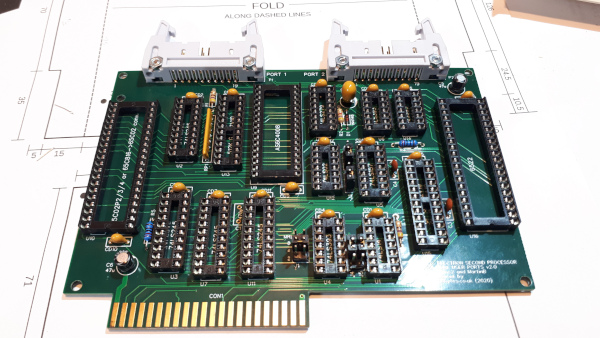
And now the User Port eject headers using the M2.5 bolts.
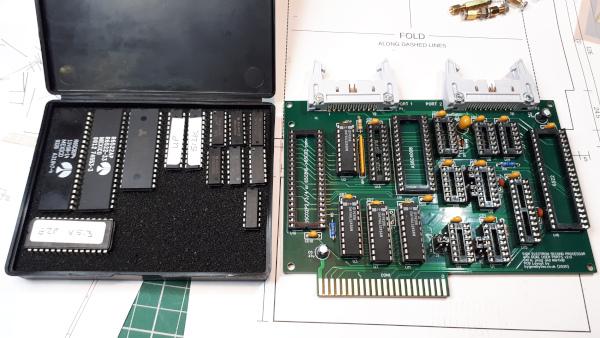
That's all the soldering done, now it's on to inserting the IC's ensuring the correct orientation.
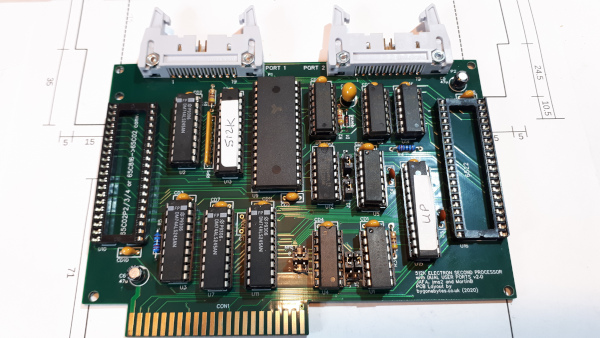
More IC's.
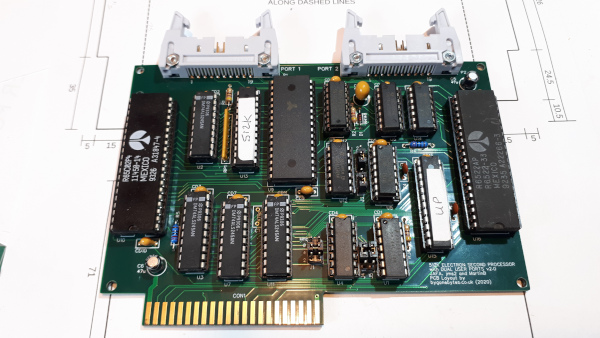
And finally the 65C02P4 processor and the 6522 VIA checking the orientation.
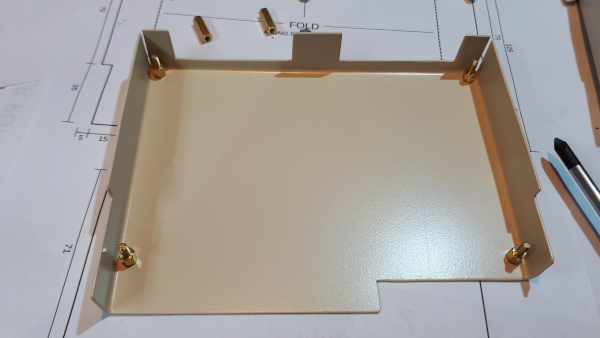
With the board complete it is time to assemble the case.
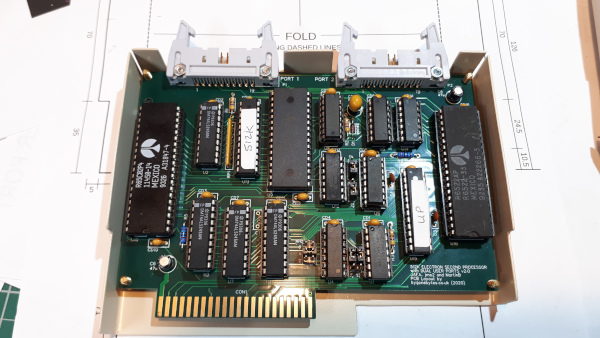
And fit the board for sizing.
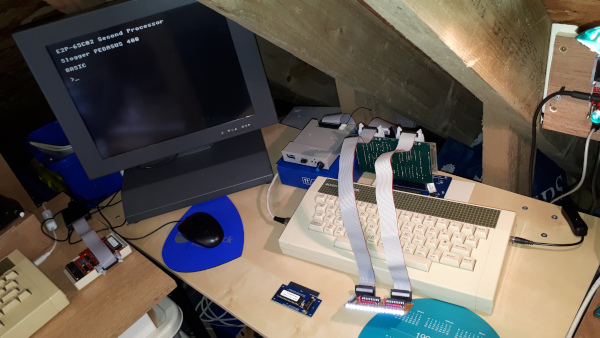
First switch on - fitted in a Minus One with my User Port test LED board. With the OS ROM installed in the Pegasus interface using *E2PON initialises the second processor. The Banner at the top of the screen will change to include the 65C02 Second Processor.
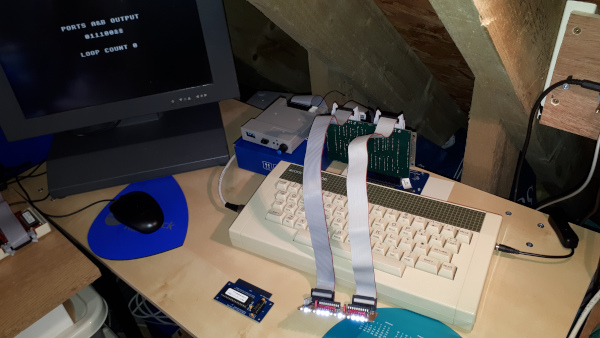
Start Testing the User Port outputs.
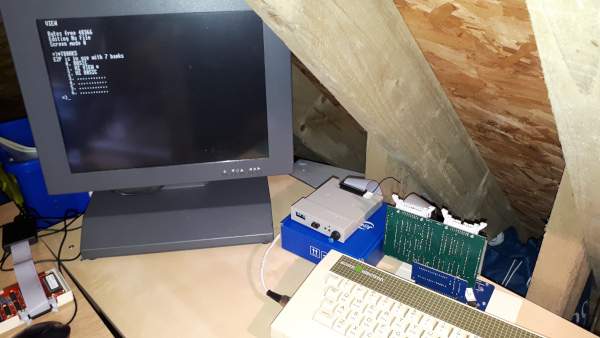
Using View 3 it loads in as Hi-View leaving 48K of memory for text. *TBANKS shows BASIC in bank 0, View in bank 1 and I loaded HI-BASIC in bank 2. Switching between banks is simply done by typeing *TBANK 0..6, data is retained for each bank.
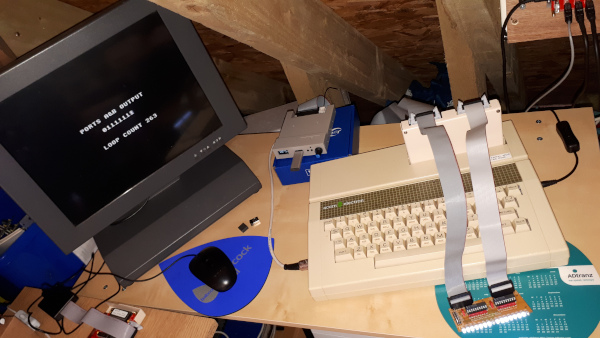
Now cased and transferred to a Plus 1, the final days soak test ran for a loop count of 263 which is equivalent to nearly four hours.
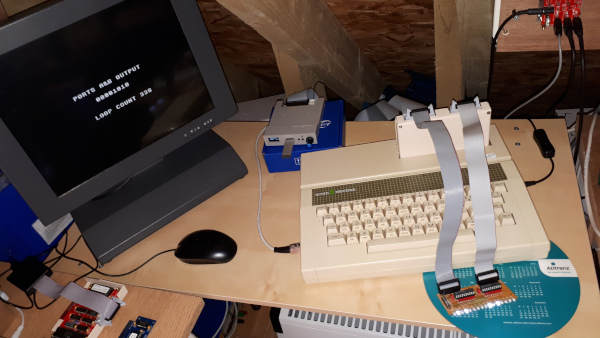
Second day soak testing - another 5 hours.
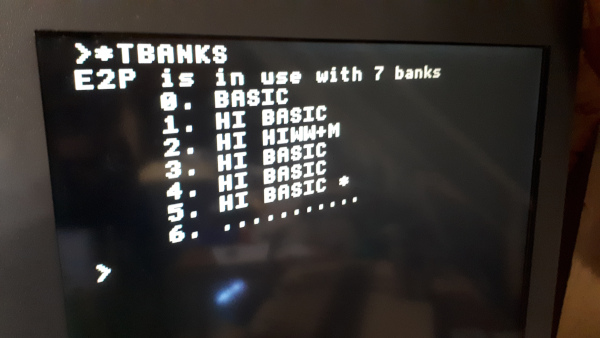
The second day of soak testing also involved using Hi-BASIC in bank 5 for the loop test while bank 2 has Hi-Wordwise Plus loaded in bank 2.
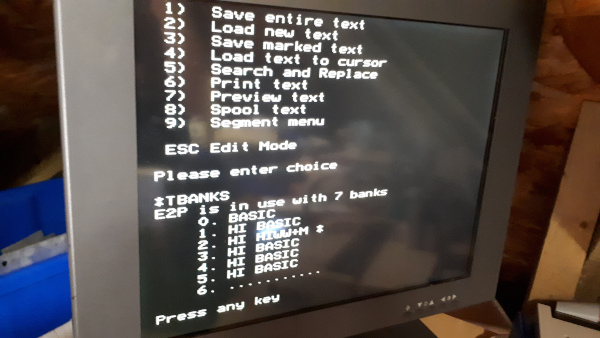
Hi-Wordwise Plus running.
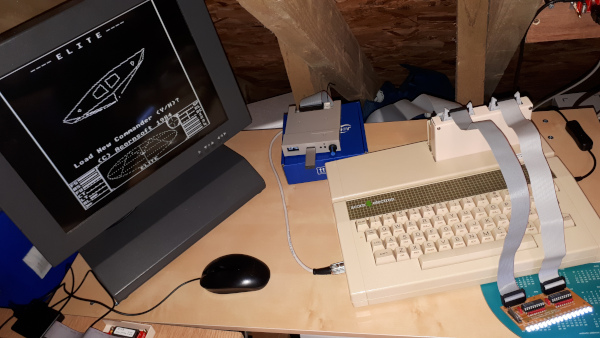
And finally Tube Elite.